


PART 14 : Film Installation Sequence & Precautions
Handy Tips for Film Application!
Once all interior contracts are complete, it’s time for the installation phase.
In this section, we’ll cover interior film application.
Film installation means applying a new material or color film over existing surfaces.
It’s used on many areas: sinks, doors, moldings, built-in cabinets, furniture, fixtures, feature walls, woodwork, and more.
Why use film? It’s more durable and stain-resistant than factory finishes, so it’s common in cafés and restaurants.
Let’s review the installation steps and key precautions!
1Disassembly
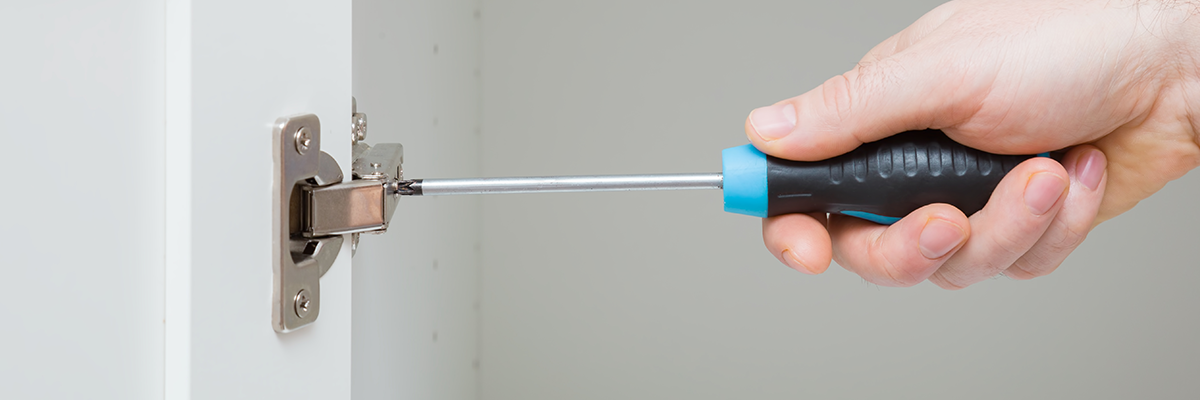
Depending on the area, you may need to remove screws or fixtures first. Disassembling these parts makes it much easier to apply the film smoothly.
2Dust Removal & Primer Application
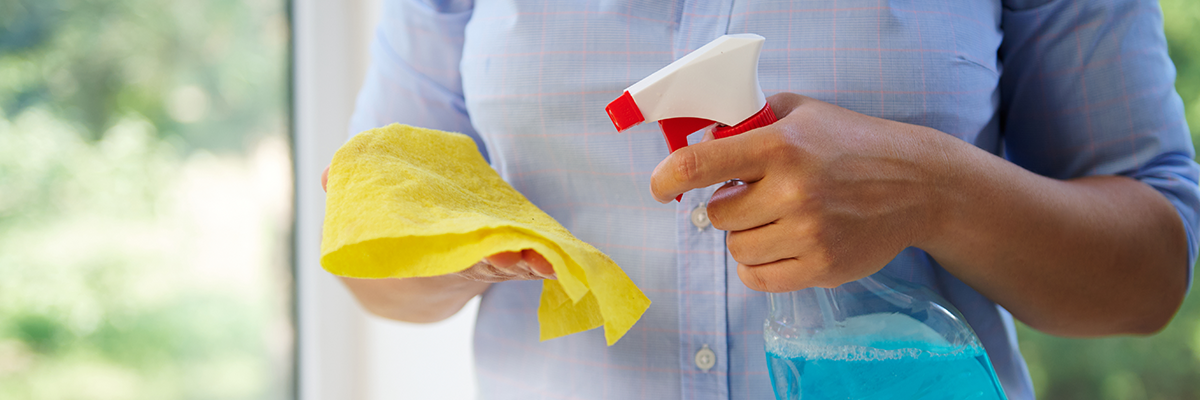
Thoroughly clean away dust and debris, then apply primer (water-based adhesive) to the surface 1–2 times.
If the room is cold, use a heat gun or hair dryer to warm the surface—this helps the film adhere more easily.
3Cutting

Measure the area with a tape measure, add sufficient allowance beyond the dimensions, then place the film on a cutting board and trim it.
Note: A standard roll of film is 122 cm wide and 50 m long.
4Applying the Film
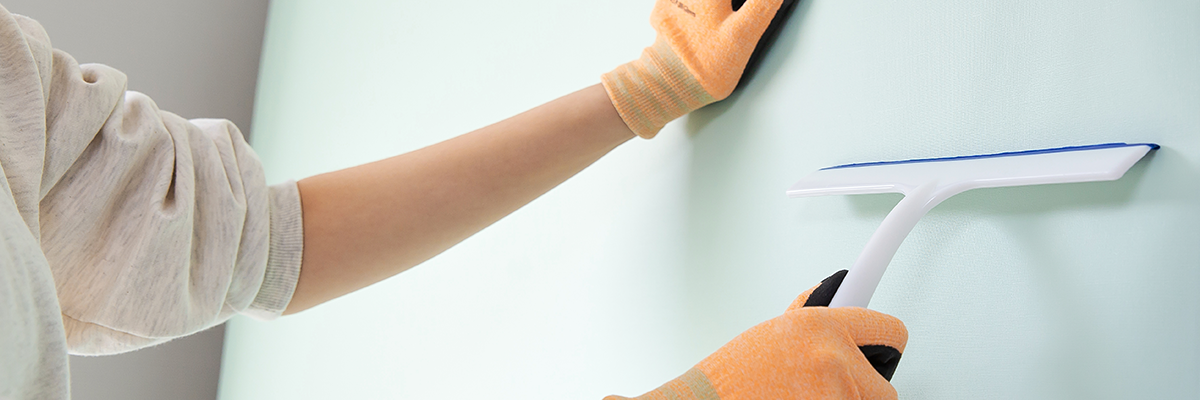
Peel the backing from the film from top to bottom and align the leading edge at the first attachment point.
Using a specialized applicator (squeegee/felt), press the film down evenly as you work.
At any folds or corners, press by hand to avoid trapping air bubbles.
Finally, use a heat gun on the finished and edge areas to complete the installation!